Is React a programming language? This question often comes up among beginners stepping into the world of web development. The short answer is no, React is not a programming language, but rather a JavaScript library. In this article, we’ll explore what React truly is, how it works, and why the confusion exists.
Let’s dive into the top 7 truths about React and answer this question with clarity.
Read also: How to View XML Document: 7 Effective Ways
What is React?
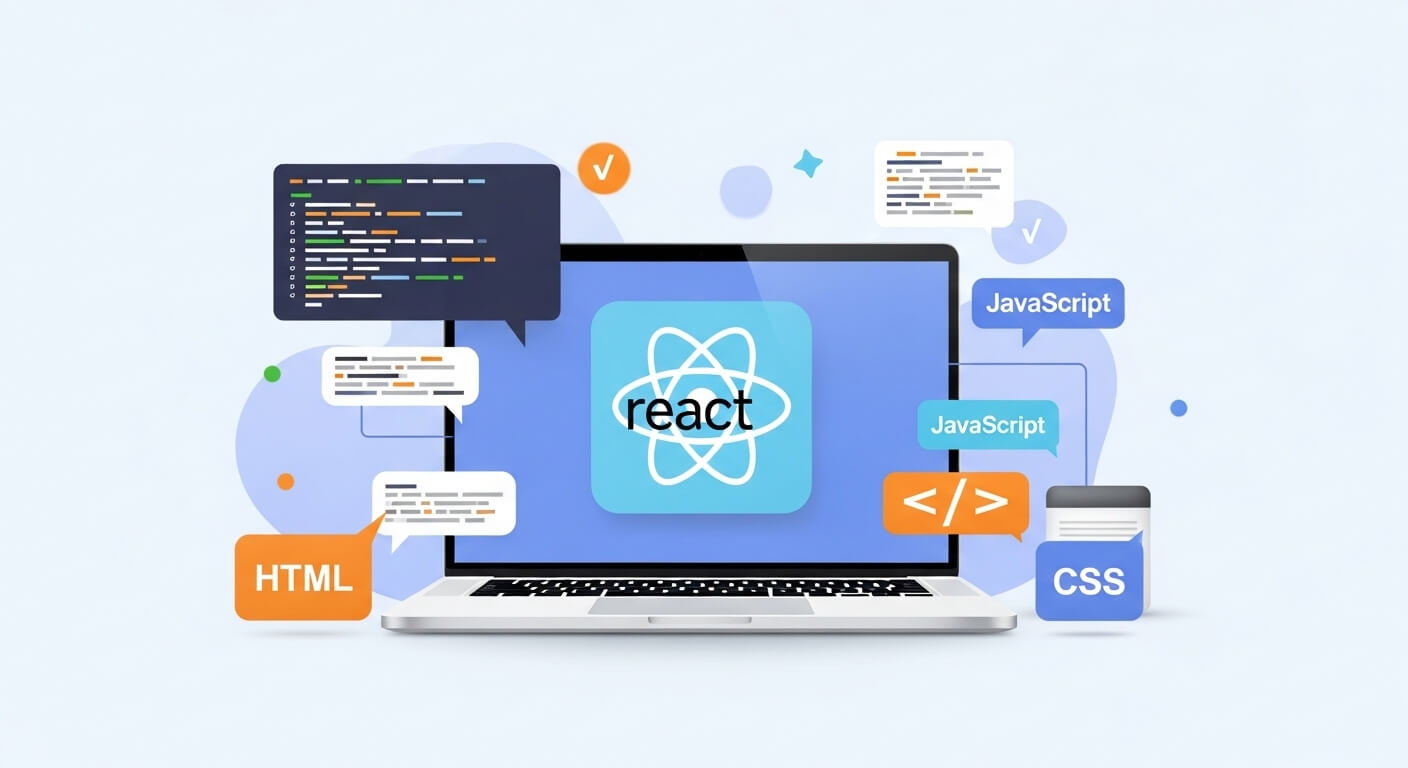
React (also known as React.js or ReactJS) is an open-source JavaScript library used for building user interfaces (UI), especially for single-page applications (SPA). It was developed by Facebook and is maintained by both Facebook and a large community of developers.
React allows developers to create interactive and reusable UI components, making the development process faster and more efficient.
Is React a Programming Language? Let’s Clear the Confusion
The term “React” is often misunderstood by beginners. Many confuse it with a full-fledged programming language. However, to clarify again:
React is not a programming language — it is a JavaScript library.
Programming languages are tools like JavaScript, Python, Java, and C++ that define rules and syntax for writing software. React, on the other hand, is built on top of JavaScript. You use JavaScript to write React applications.
Think of React as a set of tools, not a language.
Why Do People Think React Is a Programming Language?
There are several reasons for this confusion:
- React Has Its Own Syntax (JSX): JSX looks like a different language at first glance. It’s an XML-like syntax extension for JavaScript.
- React Requires Learning: Just like a programming language, React has its own learning curve.
- Used Extensively in Development: It’s so widely used that it feels like a standalone environment.
Is React a Programming Language or a Framework?
This is another common question. Some people assume React is a framework like Angular or Vue.js. The official React documentation (https://react.dev/) makes it clear that:
React is a library, not a framework.
A framework provides a complete structure with rules on how to build applications. A library, like React, gives you tools and leaves the structure up to you.
What Programming Language Does React Use?
Since React is built on JavaScript, you need to know JavaScript to work with it. JSX, the syntax used in React, is ultimately compiled down to JavaScript.
To develop React applications, you’ll use:
- JavaScript (ES6+)
- HTML (via JSX)
- CSS (for styling)
That’s it! No new language required.
Is React a Programming Language Taught in Schools?
While React itself is not a programming language, many coding bootcamps and computer science programs teach React because it’s highly relevant in today’s job market.
React is used by tech giants like Facebook, Netflix, Instagram, and Airbnb, making it an essential tool for front-end developers.
For example, according to the Stack Overflow Developer Survey 2024, React remains one of the most loved and wanted web technologies.
Top 7 Facts to Remember About React
Here are the 7 key truths to remember:
- React is NOT a programming language.
- It is a JavaScript library for building UI.
- It uses JSX, a syntax that looks like HTML.
- You write React apps using JavaScript.
- React is often paired with tools like Redux, React Router, etc.
- It is component-based, allowing for reusability and scalability.
- React is widely used in the tech industry.
React vs Programming Languages: Key Differences
| Feature | React | Programming Language |
|---|---|---|
| Type | Library | Language |
| Base Language | JavaScript | Varies (JS, Python, etc.) |
| Syntax | JSX | Defined per language |
| Use Case | UI development | General-purpose computing |
| Compiles to | JavaScript | Native code, bytecode, etc. |
External Resources to Learn React
If you want to learn React the right way, here are some great resources:
- React Official Documentation
- freeCodeCamp React Course
- Codecademy React Track
- MDN Web Docs on JavaScript
Final Thoughts – Is React a Programming Language?
To sum it all up:
React is not a programming language, but it is an essential library that helps developers build high-performance web apps using JavaScript.
The misunderstanding arises because React introduces concepts, syntax (JSX), and a development workflow that may feel unique and standalone.
However, mastering JavaScript remains crucial to becoming proficient in React.
H4: Frequently Asked Questions (FAQs)
Is React a language like Java or Python?
No. React is a JavaScript library, not a language.
Can I learn React without knowing JavaScript?
It’s possible, but not recommended. JavaScript is fundamental for React.
Is JSX a new programming language?
No, JSX is a syntax extension for JavaScript used in React.
Do I need to learn React to be a web developer?
It’s not mandatory, but React is one of the most in-demand skills in front-end development.
Leave a Reply